RECENT POSTS

20 July 2015

TWO LITTLE BOYS' PANTS.


As I was pregnant, as I have probably mentioned before, it was a very exhausting for me. Almost every day I struggled with nausea. Unfortunately,  I wasn't one of those lucky mothers who could enjoy a great mood and are full of energy -  oh, you have no idea how I envied mum.  Question - Are you all right?- It made me sick. I do not like to complain, so I answered diplomatically - well, but I'm a little tired. And how was it really, I was exhausted, my boobs hurt, and stomach painfully cracked (first pregnancy was easier). However, I am lucky, childbirth lasted only two hours, and the world came my second, healthy and handsome son. Just three months passed, I go back to what I love, that are, sewing, designing, painting and take pictures. I wish it all happened quickly, but I can not; I would like to posts popping up at least three times a week, but it was not possible. I have to put up with it and enjoy the time I have. Unfortunately I can not overwhelm you with their ideas every day, which it is a pity, but I know you're understanding, because most of you are parents.


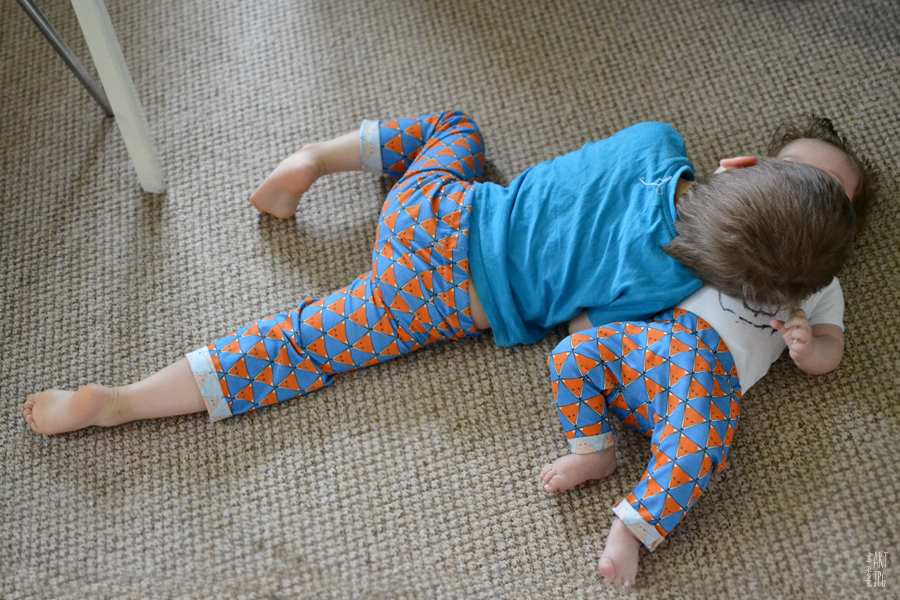
Trousers for my children I was able to sew at night. I always use one basic patterns, I'm just a little change, narrowing, widens, and etc.


What I am lucky, my sons like each other. I can not say that was a 100% idyll, Kai likes to wake  his brother, because during the day is not sleeping time :-) 


Joanna
SHARE:

7 February 2014

Guest Post: Making Creating Sharing a Recipe & Diy

Thank you Joanna for having me on your blog to guest post here at Be Creative Mommy. Hello, Theresa here from DearCreatives.com I am excited to share some sewing for baby, a few projects and a recipe I've been worked on. Then I'll leave you with a diy project. I hope everyone enjoys this post today! First up a little sewing for baby; 


Baby Booties with mushroom fabric_moon-booties_Theresa Huse 2014


My latest sewing project were these little baby booties. They are called Moon booties. The project was an easy to sew one from a book called Sweet Booties. I will be sharing a step by step tutorial on how to make them from the pattern in the book on my blog soon. This will include tips on different use of fabrics for the pattern to sewing tips.


Baby Burping Rags

From the same baby book I made these lovely burping towels. They are the easiest project to do. All straight stitching, leave one side open, trim up corners and turn inside out. You can find this on the blog right now. 

 Olive oil being poured over salmon in a baking dish_DearCreatives.com

My favorite recipe I have made recently was this Slow baked Salmon recipe. It is easily prepared and would make a wonderful Valentines Dinner if you stay home with your family or just for two! Lastly I am leaving you with this easy Diy for your place settings! A project you can make yourself!


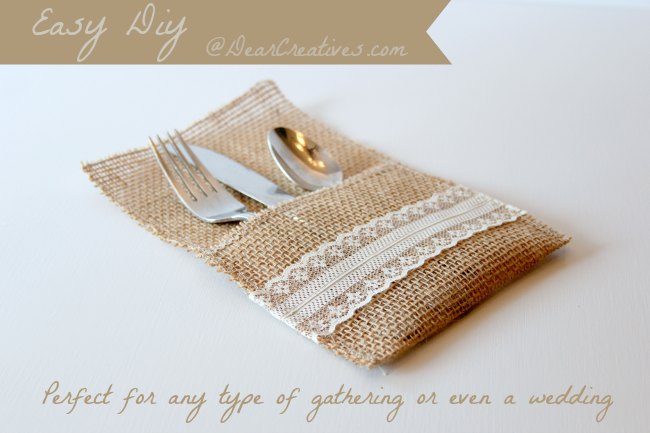
Burlap Utensil Holder_ Diy _Fork_Knife_Spoon_ Theresa Huse 2013


Supplies you will need for this diy:

  • burlap (woven or any type will do) Cut to: Total Size: 6 inches wide x 13 3/4" for each one
  • thread (wheat or light color)
  • scissors
  • cardboard or poster board to make template (optional)
  • ruler
  • straight pins
  • lace (size about 1-1/2")
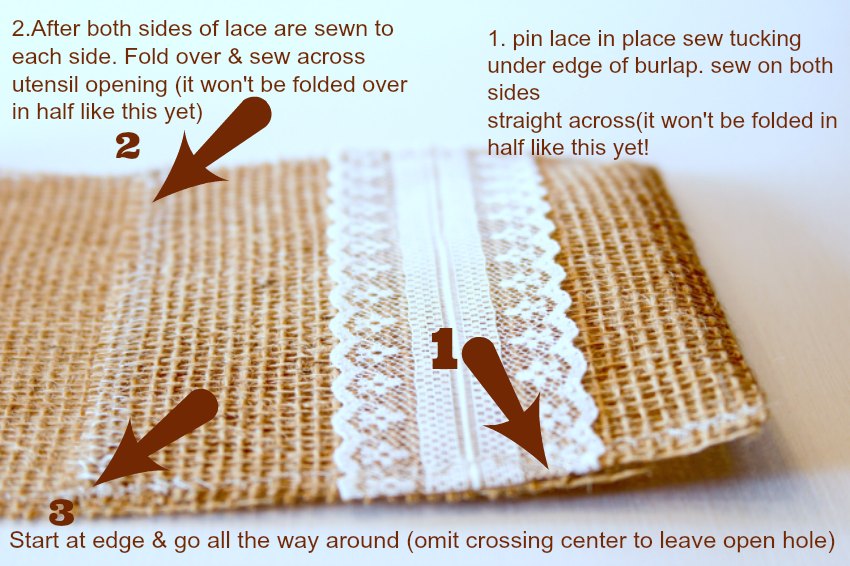
#1. First thing is either make out a template or just measure & cut one using it as a template for the rest. The measurements I used leave enough room to add a napkin into them. Total Size: 6 inches wide x 13 3/4" for each one you want to make. I made 8 so I cut this size 8 times. #2. Next cut your lace pieces about 6 1/2" for each one. (OR) You can put lace into place folding lace across then tuck under edge pin & cut to size.To find placement just fold up your burlap fabric about 4-3/4" (but, do not sew it yet) I placed mine exactly one inch from where bottom was going to be & a little over 1-1/2 inch from where #2 is in the photograph & opening of utensil holder pocket is. As you see you fold up your 6 x 12- 3/4 " fabric 4-1/2" to create the pocket. All sewing prior to third step is done without folding for the pocket as shown in image below. (envision your total size burlap flat unfolded to do first steps, hope that makes sense)


Step by Step how to make burlap utensil holders_Theresa Huse 2013

#3. Once you do steps one & two you fold up burlap & pin at each side in place start at one corner & go the entire way around. It isn't necessary to sew across the bottom, sew along one side, across top & down the other side like it's a u shape. I did this so the burlap edges wouldn't unravel & to make the fold of pocket. 


Lace_Burlap_ Closeup_ Theresa Huse 2013

When your sewing the lace onto burlap you sew across the side edges (on each side) where you will sew around a final time. If you have questions just ask & I'll try to answer them. 


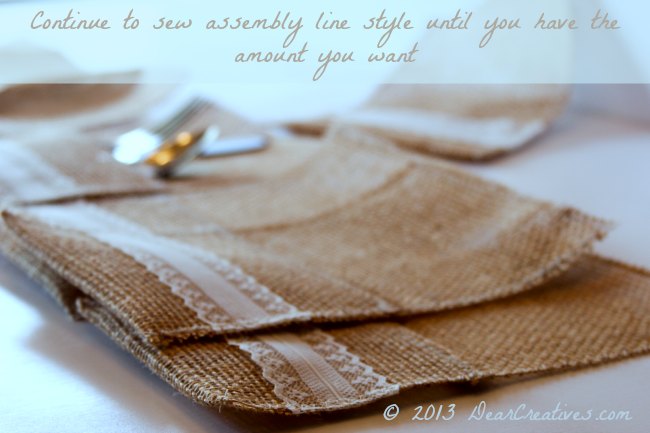
set of burlap and lace utensil holders_Theresa Huse 2013

Enjoy making them! 


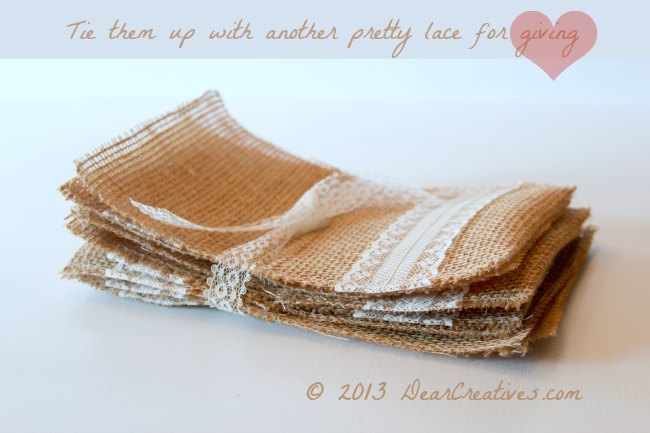
Burlap Utensil Holders_tied up pretty gift diy idea_Theresa Huse 2013

Thanks Joanna for letting me share with your readers today! I hope you drop by to see the other crafts, diy, recipes and photography on the blog. Again you can find me at: DearCreatives.com All my best, Theresa


Thank you for a wonderful post and I hope that you will be my guest again in the future.


https://www.etsy.com/uk/shop/ArtJPabelG


SHARE:
© Be Creative Mummy / UK lifestyle Blog / Crafts | All rights reserved.
Blogger Templates by pipdig