

My latest sewing project were these little baby booties. They are called Moon booties. The project was an easy to sew one from a book called Sweet Booties. I will be sharing a step by step tutorial on how to make them from the pattern in the book on my blog soon. This will include tips on different use of fabrics for the pattern to sewing tips.

From the same baby book I made these lovely burping towels. They are the easiest project to do. All straight stitching, leave one side open, trim up corners and turn inside out. You can find this on the blog right now.

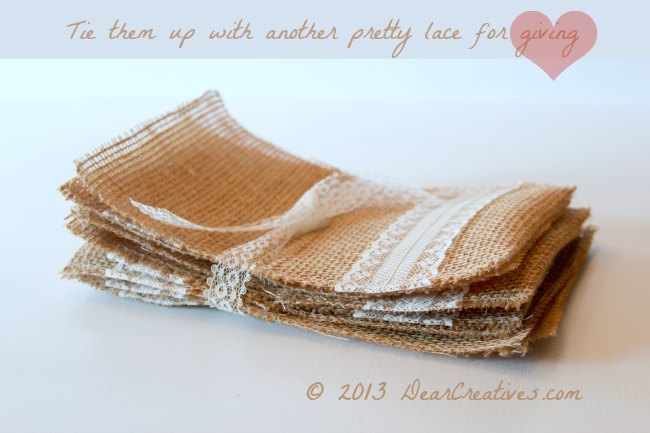
My favorite recipe I have made recently was this Slow baked Salmon recipe. It is easily prepared and would make a wonderful Valentines Dinner if you stay home with your family or just for two! Lastly I am leaving you with this easy Diy for your place settings! A project you can make yourself!
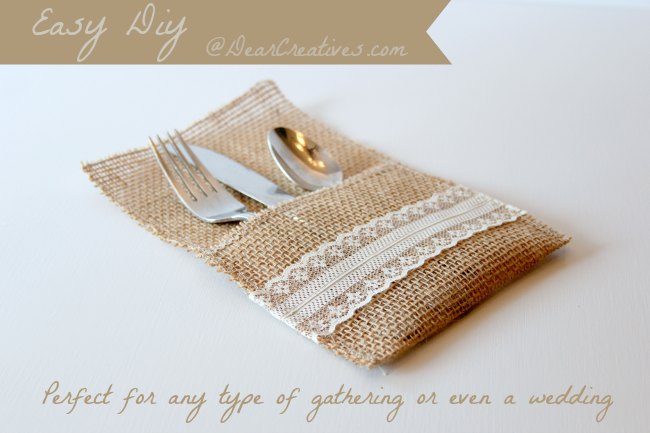
Supplies you will need for this diy:
- burlap (woven or any type will do) Cut to: Total Size: 6 inches wide x 13 3/4" for each one
- thread (wheat or light color)
- scissors
- cardboard or poster board to make template (optional)
- ruler
- straight pins
- lace (size about 1-1/2")
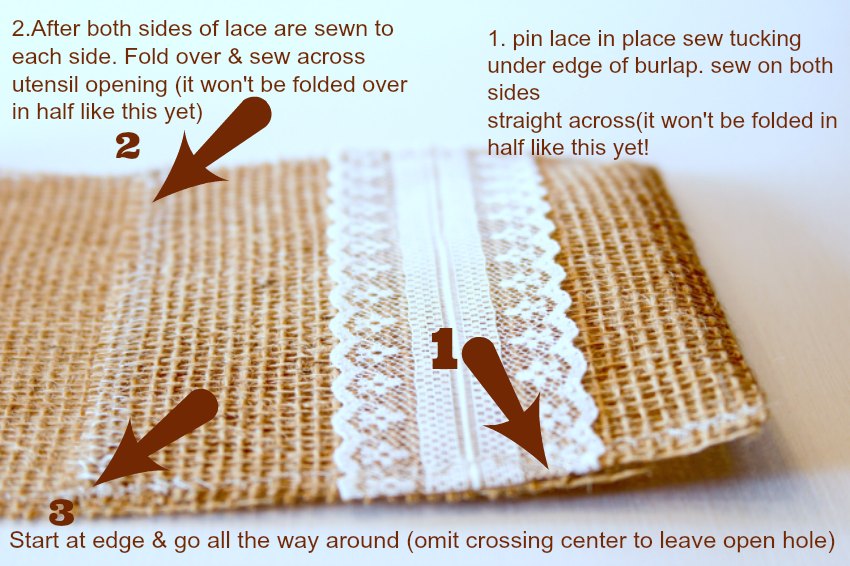
#3. Once you do steps one & two you fold up burlap & pin at each side in place start at one corner & go the entire way around. It isn't necessary to sew across the bottom, sew along one side, across top & down the other side like it's a u shape. I did this so the burlap edges wouldn't unravel & to make the fold of pocket.
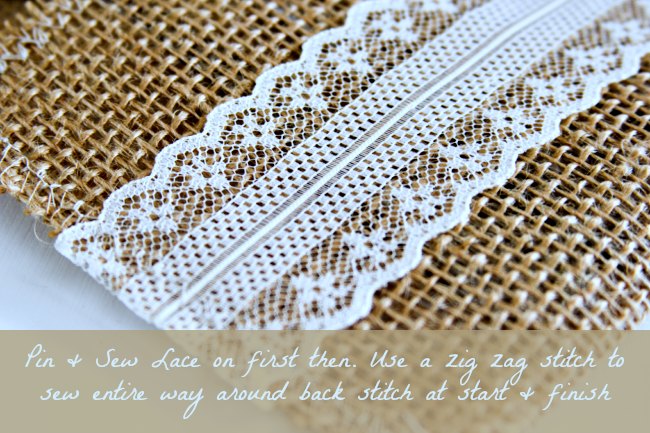
When your sewing the lace onto burlap you sew across the side edges (on each side) where you will sew around a final time. If you have questions just ask & I'll try to answer them.
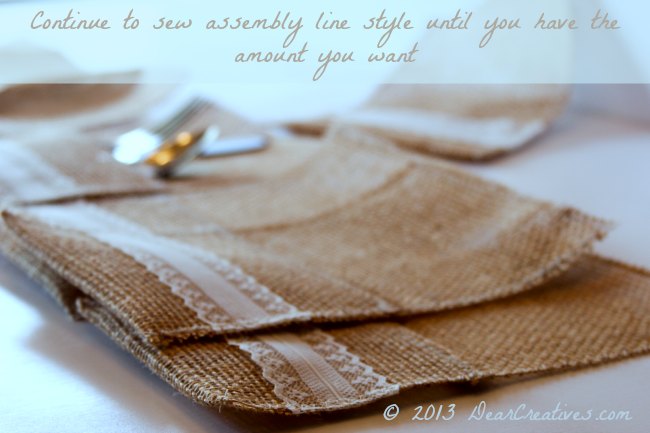
Enjoy making them!
Thanks Joanna for letting me share with your readers today! I hope you drop by to see the other crafts, diy, recipes and photography on the blog. Again you can find me at: DearCreatives.com All my best, Theresa
Thank you for a wonderful post and I hope that you will be my guest again in the future.


Lovely! I don't get enough time on my sewing machine but I would love to make something like this. Great for inspiration :)
ReplyDeleteCharming! I do not obtain sufficient time on my stitching equipment yet I would certainly like to make something similar to this. Great for motivation:-RRB-.
ReplyDelete__________________________
How to burp your baby